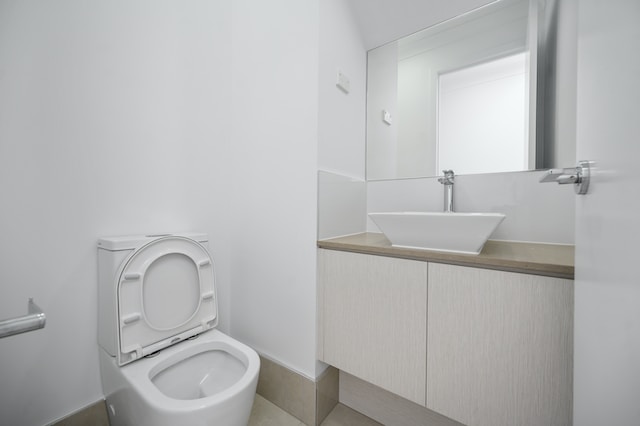
Moving a toilet can be a challenging DIY project, but with careful planning and the right tools, it’s possible to do it yourself. Before you start, keep in mind that moving a toilet involves working with plumbing and may require some basic construction skills. Here’s a step-by-step guide to help you move a toilet DIY-style:
Assess the New Location: Decide where you want to move the toilet to. Make sure the new location meets local building codes and provides enough space for the toilet and its required clearances.
Gather Necessary Tools and Materials: You’ll need a wrench, screwdriver, plunger, wax ring, new flange, pipe wrench, hacksaw, putty knife, and a level.
Shut Off Water Supply: Turn off the water supply to the toilet by closing the shut-off valve located behind the toilet. Flush the toilet to drain the water from the tank and bowl.
Disconnect Water Supply Line: Use a wrench to disconnect the water supply line from the bottom of the toilet tank.
Remove the Toilet: Loosen the nuts securing the toilet to the floor using a wrench. Carefully lift the toilet bowl straight up and set it aside. Be cautious as toilets can be heavy.
Remove the Old Wax Ring and Flange: Scrape off the old wax ring and clean the flange on the floor with a putty knife. If the flange is damaged or not in the correct position for the new location, you may need to replace it.
Adjust the Drain Pipe: If the drain pipe needs to be adjusted to align with the new toilet location, use a hacksaw to cut and reposition it.
Install a New Flange: If the old flange is damaged or doesn’t fit the new toilet location, install a new one. Secure the flange to the floor using screws.
Install a New Wax Ring: Place a new wax ring on the flange. The wax ring creates a watertight seal between the toilet and the drain pipe.
Position the Toilet: Carefully position the toilet bowl over the new wax ring and flange. Make sure the toilet aligns with the drain pipe and rests evenly on the floor.
Secure the Toilet: Gently press the toilet down to compress the wax ring and create a seal. Hand-tighten the nuts onto the bolts at the base of the toilet. Use a level to ensure the toilet is level and adjust as needed.
Reconnect Water Supply: Reconnect the water supply line to the bottom of the toilet tank and tighten with a wrench.
Turn On Water Supply: Slowly turn on the water supply valve to fill the toilet tank. Check for any leaks around the base of the toilet and tighten the nuts if needed.
Test the Toilet: Flush the toilet and check for proper flushing and water flow. Make sure there are no leaks.
Structural Modifications: If moving the toilet requires structural modifications, such as cutting into the floor or adjusting drain pipes, a professional plumber can ensure that the changes are done correctly and comply with building codes.
Plumbing Code Compliance: Local building codes often dictate specific requirements for toilet installations. Professional plumbers are familiar with these codes and can ensure that the new toilet location meets all necessary regulations.
Gas Lines or Water Heater Relocation: If the toilet relocation involves working with gas lines or adjusting the water heater, it’s crucial to hire a licensed plumber experienced in these areas to prevent safety hazards.
Complex Plumbing Systems: If your home has a complex plumbing system or you’re uncertain about the existing plumbing layout, a professional plumber can navigate through the system to ensure proper connections and avoid potential issues.